How to Integrate PTZ Cameras into your Live Setup
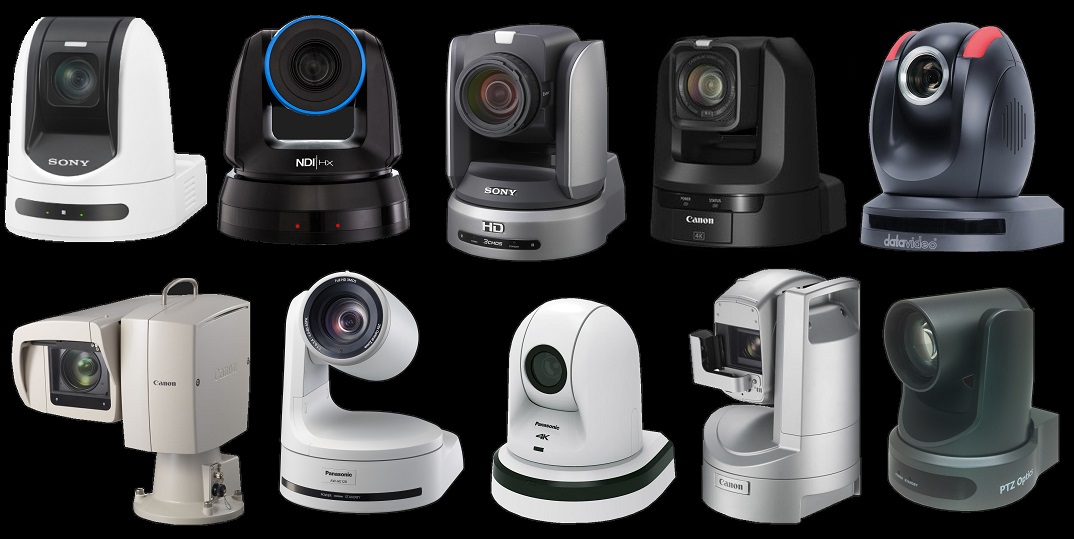
Have you wondered how to integrate PTZ Cameras into your live setup? PTZ stands for “pan/tilt/zoom” and refer to robotic cameras that have pan/tilt motors and zoom lenses. The most notable examples of these cameras include Sony, Canon, Panasonic, PTZOptics.
There once was a time when the most common solution for video was to have an operator “man” each camera and physically have to operate the various shots using tripods, dollys, etc. But in recent years, PTZ cameras have quickly become a go-to video solution for many different industries because a single operator can control multiple cameras and achieve camera angles not possible with conventional tripod setups.
We see PTZ cameras being used in a variety of industries, and have worked with churches, universities, hospitals, and businesses needing to connect and control PTZ cameras for livestreaming, broadcasting, and recording their production. Whether it’s to stream a church service, broadcast a college football game, market your business or stream a corporate event, PTZ cameras are a convenient and affordable option for organizations big or small.
Although PTZ cameras have become popular, there is often confusion in how to connect them, control them, and integrate them into various configurations. That’s where Rocosoft Hardware and Software Solutions come in and help bridge the gap in connecting and controlling these wonderful cameras.
This post will go over some things to consider when setting up a live production setup and go over the options we offer for connecting and controlling PTZ cameras.
Choosing your PTZ Camera(s)
First thing's first, you have to choose the type of PTZ camera that will best work for your setup. There are many factors that go into making this selection including video output, cost, connection type, and camera specs.
The main thing to consider is what type of video signal you will want to use, which will often times determine the cost of the PTZ camera. The standard video options are SDI, HDMI/DVI, and composite video – SDI being the best video quality, and usually most expensive option.
Another thing to consider with regards to video quality is the length of the cabling. HDMI, although a cheaper alternative to SDI, tends to require shorter runs so you do not run into decreased video quality.
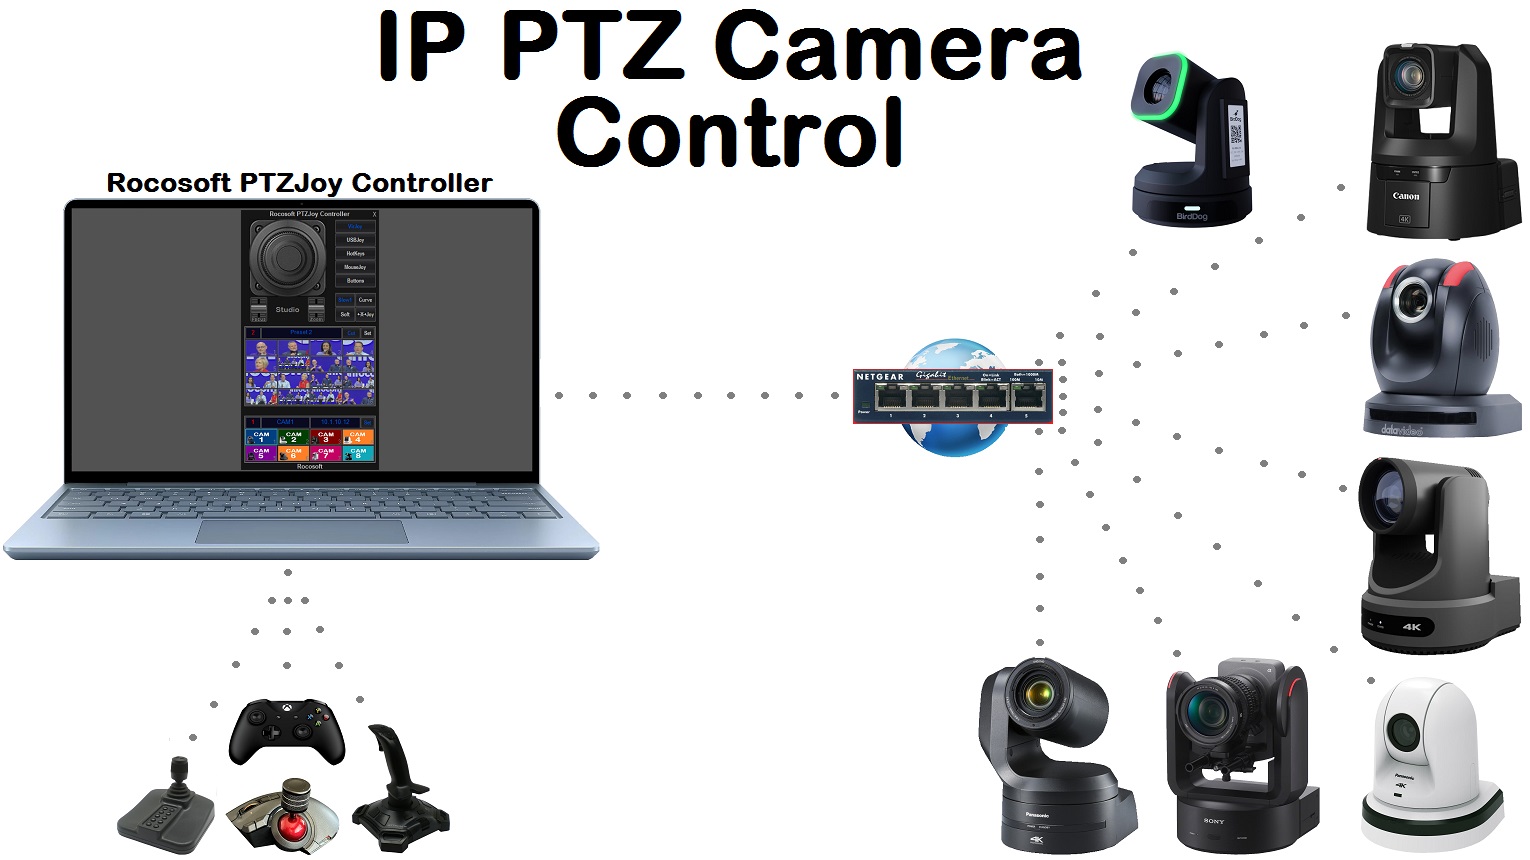
Another completely separate point is that nowadays, PTZ cameras on the market are moving to IP connection where the cameras are connected to your hardware via Wi-fi, LAN, or WAN connection. There are many pros to using IP cameras and NDI video streams mainly the ease of connecting the camera, so definitely something to consider.
Choosing your Live-production Switcher
Just like with “manned-operator” cameras, the video feed from a PTZ camera must go somewhere so you will have to choose a live production switcher. There are many options available out there, from NewTek TriCaster dedicated live-production systems to software options for a regular Windows computer like vMix Live-Production Software. What you ultimately choose to use depends on the scope of the production, cost, number of cameras and video inputs needed, and the availability of any additional effects that you want such backgrounds, overlays, etc.
Controlling your PTZ Cameras
So you have all of your equipment, you have connected your cameras, now what?
You need to control your PTZ cameras.
It used to be that you had to buy additional hardware such as TriCaster’s dedicated control surface or purchase a Sony RM-BR300 Joystick controller. While these are viable options, they are often pretty expensive and are still limited to simple PTZ controls, camera switching, and preset management.
Another option is to use you live-production system’s built in PTZ control (if it has one) to control the basic pan, tilt, zoom functions of your cameras. This option may work if all you need for your live production is to pan your camera left and right and zoom in and out.
However, what we see with most of our clients when they come to us is that once they purchase all of this expensive professional equipment, set everything up to create a stunning live production, they still lack a professional PTZ control solution without paying an arm and a leg for dedicated hardware that still lacks functionality.
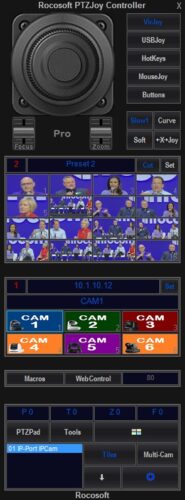
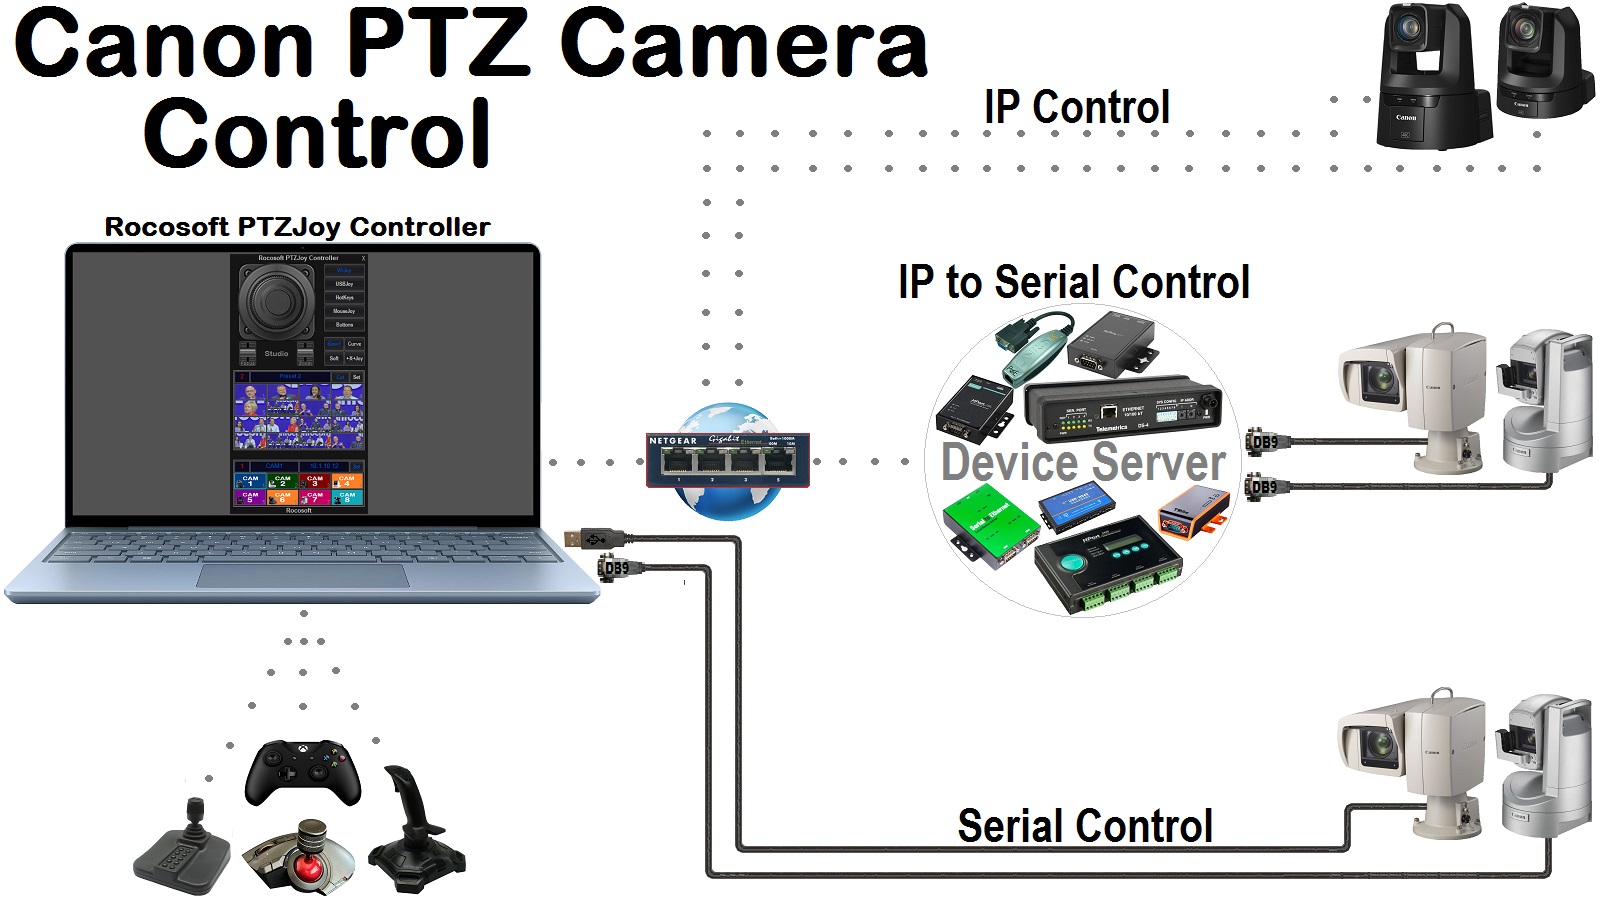
Our solution is a professional ptz camera management software that integrates directly onto your live production system and adds advanced PTZ camera control options, powerful preset tools, and camera automation technology to your live-production.
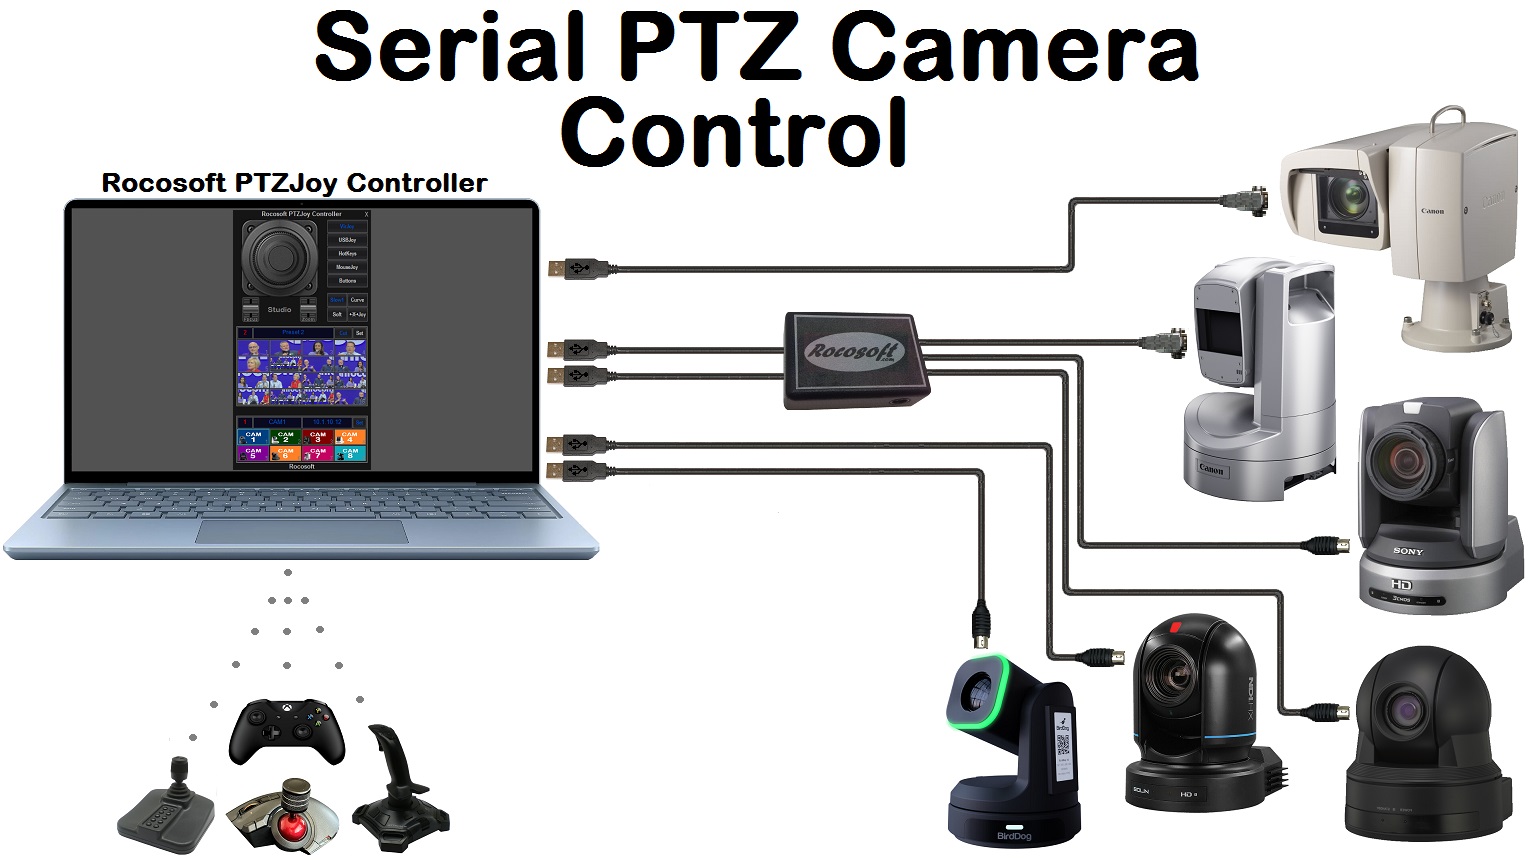
Need a USB to VISCA Control Cable? We also make PTZ Gear.
Check out our selection of Serial RS-232, RS-422, and RS-485 to USB VISCA Control Cables and adapters for both single and multi-camera configurations:
